By Jayson · Updated July 2026 · 7-minute read
How to calibrate a shipping scale- Quick Answer : clean the platform, power on and wait 60 seconds away from running printers, press Tare to zero, hold CAL or MODE until the display shows the required weight, place the exact weight in the center, wait for PASS, then verify with a known package. No calibration weight? Use nickels for small scales, or a sealed bag of sugar for larger ones.
An inaccurate shipping scale costs money in two directions at once. Read heavy and you overpay postage on every single package. Read light and the carrier catches it, adjusts the charge after the fact, or returns the package outright. Learning how to calibrate a shipping scale properly is a five-minute job that protects margin on every order you ship.
Here's how to calibrate a shipping scale the right way: the real 6-step process, why packing stations are especially hard on a load cell, and what to do if your particular scale doesn't have a calibration mode at all.
In this guide
- Why shipping scales lose calibration
- What you need before you start
- How many coins do you need?
- Step-by-step calibration
- Does your shipping scale even have a calibration mode?
- Accuracy tester
- Troubleshooting
- How often to calibrate
- FAQ
How to Calibrate a Shipping Scale: Why It Loses Accuracy
Before getting into how to calibrate a shipping scale, it helps to know why it needed calibrating at all — shipping scales sit in a rougher environment than almost any other scale in this guide series. A packing bench next to a label printer, a tape dispenser, a box cutter — none of that is friendly to a load cell.
Printer vibration is worth being specific about. Real, documented calibration guidance is clear that vibration and drafts make readings unstable and can compromise a calibration attempt while it's happening — that part is solid, and it's exactly why how to calibrate a shipping scale correctly starts with picking a quiet spot. What's less established is whether that vibration slowly shifts a scale's stored calibration over weeks of use the way a drop or overload can. Treat "get it off the same desk as a running label printer" as good practice either way, not as a guaranteed fix for a scale that's already reading wrong.
Debris is the other everyday culprit, and it's one of the most common reasons people search for how to calibrate a shipping scale in the first place. A small piece of packing tape stuck to the underside of the platform adds a small, consistent false weight to every reading — manufacturers consistently list a clean platform as a basic accuracy requirement, even though nobody publishes a precise number for how many grams a stray bit of tape actually adds. It's invisible, it's consistent, and it's easy to miss during a busy shift.
Large-capacity shipping scales, generally 30lb and up, are also more vulnerable to genuine physical damage than smaller ones. Dropping a heavy parcel on the platform can shift the load cell permanently. If a scale was accurate and suddenly isn't after a drop, recalibrating it may not be enough to fix it.
How to Calibrate a Shipping Scale: What You Need First
Gather these before you start learning how to calibrate a shipping scale, so you're not hunting for something mid-process. Doing this prep work is what separates a calibration that actually holds from one you'll be redoing next week:
- A flat, stable surface away from printers. Move the scale at least 50cm from any running label printer before calibrating.
- Fresh batteries or a stable power source. USB-powered scales are less prone to battery drift but still need a reliable connection.
- The correct calibration weight. Shipping scales typically calibrate with a weight at or near their rated capacity rather than a small fixed value — a 30lb scale generally needs a weight close to 30lb, a 5kg scale close to 5kg. Check the bottom of the scale or the manual for the exact figure. See our calibration weights guide for sourcing options, and NIST's general guidance on weighing instruments for the underlying accuracy principles this whole process is built on.
- A clean platform. Check for tape residue, packing foam fragments, and anything stuck underneath before starting.
How to Calibrate a Shipping Scale Without Weights: How Many Coins?
Part of learning how to calibrate a shipping scale without buying anything extra is knowing this: nickels work for small shipping scales under 1kg capacity — each one weighs exactly 5.000g per US Mint specification. See how much does a nickel weigh for more on using coins as a reference. For anything larger, a factory-sealed 1kg or 2kg bag of sugar or rice with its net weight printed on the packet is a genuinely practical substitute — that printed weight is typically accurate to within a couple of grams, good enough for most shipping use.
Coin calibration weight calculator
For small shipping scales only. Enter the required calibration weight in grams.
100 US nickels
For scales over 1kg: use a sealed bag of sugar or rice instead — a 1kg bag is a 1000g reference, far more practical than stacking 200 nickels.
The sugar bag method: a factory-sealed 1kg bag of granulated sugar makes a reliable 1000g calibration reference for shipping scales. Use it straight from the shop — once opened, moisture changes the weight, so a resealed bag is no longer trustworthy for this.
How to Calibrate a Shipping Scale, Step by Step
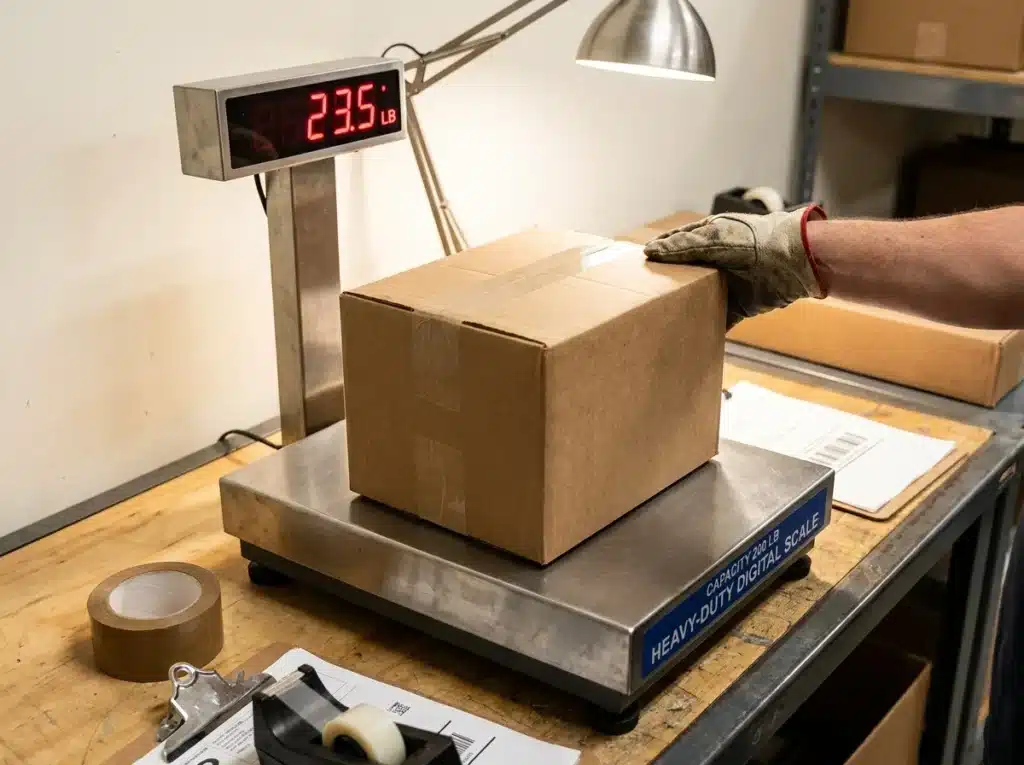
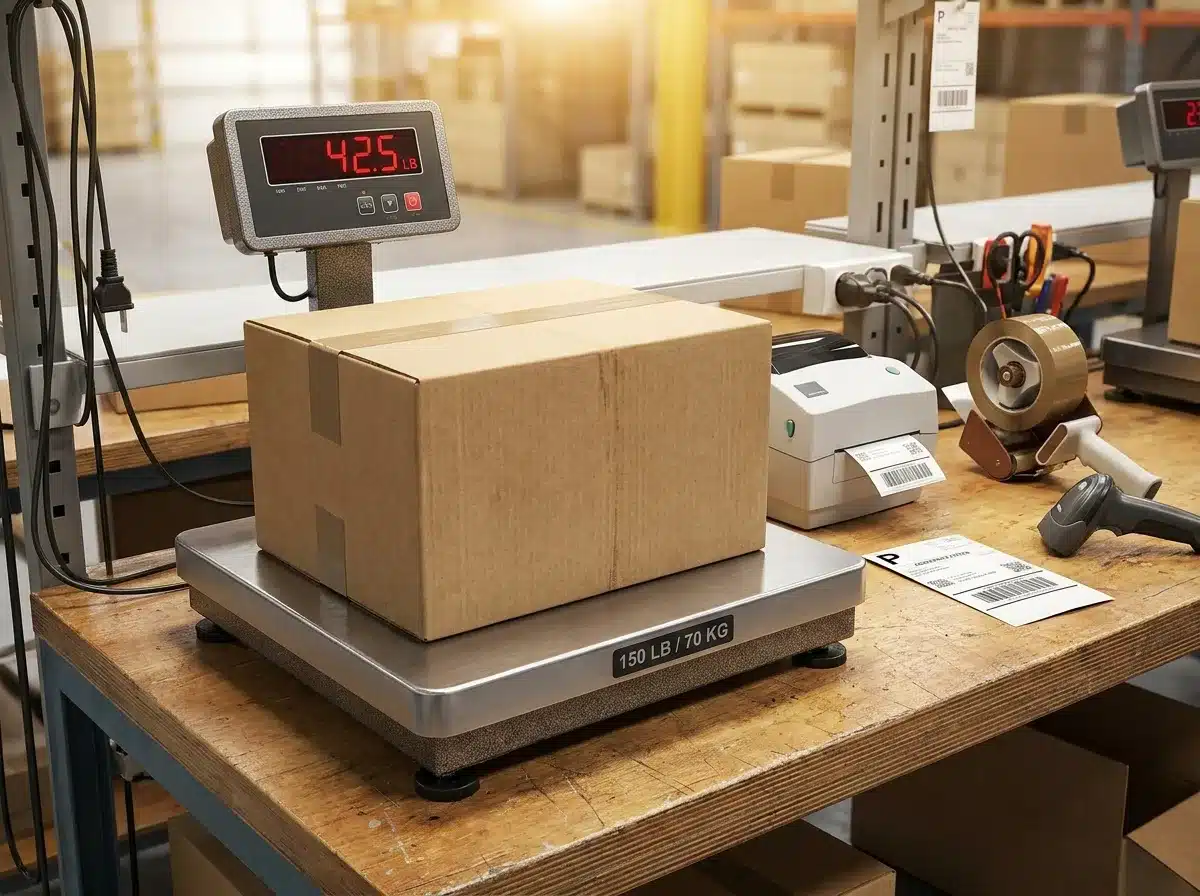 A rated capacity printed right on the platform is worth checking before you calibrate.
This is exactly how to calibrate a shipping scale in practice — the general process most shipping scales that support calibration follow — the exact button names vary by model, so check your manual if a step below doesn't match your display.
- Clean the platform. Wipe it with a dry cloth. Check underneath for tape residue, foam, or anything stuck to the underside — lift the platform if it's removable. Even a small piece of tape causes a consistent false reading on every package.
- Move away from printers and power on. Set the scale at least 50cm from your label printer. USB-powered scales: plug in and let them stabilize for 60 seconds. Battery-powered: replace batteries if they haven't been changed in six months, then power on and wait 60 seconds.
- Zero the scale. Nothing on the platform. Press Tare or Zero and wait for a stable 0.0 reading. If it drifts or won't hold zero, check for tape residue underneath and confirm the surface is completely flat.
- Enter calibration mode. Hold CAL or MODE for a few seconds until the display shows CAL or starts flashing the required weight — this is what goes on the platform next.
- Place the calibration weight. Set it gently in the center of the platform. Don't drop it — impact can shift the load cell on larger scales — and don't bump the desk while the reading settles.
- Confirm and verify. Wait for PASS or an automatic return to weighing mode. Remove the weight, re-zero, then verify by weighing a package of known weight — a sealed 1kg sugar bag or a confirmed-weight parcel. If the reading is off by more than your scale's stated tolerance, repeat from step 2.
How to Calibrate a Shipping Scale That Has No CAL Button
Here's something worth knowing before you go hunting for how to calibrate a shipping scale that won't cooperate: a lot of USB-connected shipping scales genuinely don't have one. Scales sold for use with Stamps.com, ShipStation, or Pirate Ship are frequently factory-calibrated at the manufacturer, with no button combination that opens a real calibration mode — no matter what generic sequence a blog post tells you to try.
There's no reliable brand-wide rule here, and it's worth being upfront about that rather than inventing one. Button sequences genuinely vary model to model, even within the same brand, and manufacturers change internals between hardware revisions without renaming the product. The only trustworthy way to know is your specific scale's manual, or a printed "CAL" marking near the display or on the base.
If your scale genuinely has no calibration mode: - Run the accuracy check below anyway — it tells you whether the scale is trustworthy, even if you can't fix it yourself. - A small, consistent offset can sometimes be worked around by mentally adjusting for it, though that's a workaround, not a real fix. - If it's meaningfully inaccurate and can't be calibrated, contacting the manufacturer or replacing the unit is usually more practical than trying to force a fix that isn't there.
If it does have a calibration mode, it will need a weight at or near its rated capacity — check the manual or the base of the unit — and the general 6-step sequence above will get you there.
Accuracy tester
A calibration that passes doesn't guarantee accuracy — it only means the scale accepted the input. Always verify against a known-weight reference afterward.
Scale accuracy test
Good reference objects: a sealed 1kg bag of sugar, a 500g bag of rice, or a confirmed-weight parcel.
For a more detailed pass/fail breakdown, use the full accuracy tester on our digital pocket scale guide.
Troubleshooting How to Calibrate a Shipping Scale
| Symptom | Most likely cause | Fix |
|---|---|---|
| Reads consistently high by the same amount | Tape residue or debris under the platform | Clean the underside thoroughly, re-zero, recalibrate. |
| Readings jump while a package sits on the scale | Printer vibration or an unstable surface | Move the scale away from the printer, place on a stable surface or anti-vibration mat. |
| Shows OVER or ERR | Package exceeds maximum capacity | Remove immediately; check the scale's rated capacity and use a higher-capacity scale if needed. |
| Shows Lo or a battery symbol | Low battery | Replace or recharge before doing anything else. |
| USB scale reads zero on the computer but not on the display | Software or driver issue, not calibration | Reinstall the scale driver; check ShipStation or Stamps.com USB scale settings. |
| Calibration completes but readings are still wrong | The calibration weight itself was inaccurate | Repeat with a verified weight — a sealed sugar bag or certified calibration weight. |
| Scale was dropped and now reads incorrectly | Load cell physically shifted | Try calibrating once. If still wrong after two attempts, the load cell is likely damaged — replacement is usually more cost-effective than repair. |
How to Calibrate a Shipping Scale: How Often
Knowing how to calibrate a shipping scale is only half the job — knowing how often matters just as much. For e-commerce businesses shipping daily, calibrate monthly and spot-check weekly by weighing a known-weight package before your first dispatch of the day. For occasional use, every 3-6 months is enough.
Always recalibrate after: - Moving the scale to a new location or surface - Replacing batteries or changing power source - A drop or heavy impact - Packages being returned for insufficient postage - Noticing consistent weight discrepancies
Worth checking if you ship in volume: if you send more than 100 packages daily and postage costs jump without a rate increase, check the scale first. A consistent few-gram overread across a high daily package count adds up to real money over a month — USPS's own postage verification process exists specifically to catch and bill for weight discrepancies, so an inaccurate scale on your end costs you either way, whether it reads high (overpaying upfront) or low (an adjustment charge later).
Frequently asked questions
How do I calibrate a shipping scale without weights? For small shipping scales under 1kg capacity, use US nickels at 5.000 grams each. For larger scales, a factory-sealed 1kg or 2kg bag of sugar or rice with its net weight printed on the packet works as a substitute, typically accurate to within a couple of grams.
How often should I calibrate a shipping scale? Monthly for daily e-commerce shipping, with a quick spot-check against a known-weight package every morning before your first dispatch. Every 3-6 months is enough for occasional use. Always recalibrate after moving the scale, changing batteries, or a package getting returned for insufficient postage.
Why is my shipping scale inaccurate after calibration? Three common causes: the calibration weight itself was inaccurate, so repeat with a verified reference; the scale is picking up interference from a nearby printer or unstable surface; or there's debris under the platform. If none of those fix it, a drop or overload may have physically damaged the load cell.
What calibration weight does a shipping scale need? Shipping and parcel scales typically calibrate with a weight at or near their rated capacity rather than a small fixed value, since that's what the manual and internal firmware expect. Check the bottom of your scale or its manual for the exact figure.
Does my shipping scale even have a calibration mode? This is the most common snag people hit trying to learn how to calibrate a shipping scale: many USB-connected scales sold for Stamps.com, ShipStation, or Pirate Ship are factory-calibrated with no user-accessible calibration mode at all. Check the manual first; if there's genuinely no calibration option and the scale reads wrong, contacting the manufacturer or replacing the unit is the practical path.
More Related Guides
Now that you know how to calibrate a shipping scale, here are related guides worth bookmarking:
- Calibration Weights: Which Class & Size — scalecalibration.net/calibration-weights/ — which weight class and capacity to buy for shipping scales up to 30kg.
- How to Calibrate a Digital Pocket Scale — scalecalibration.net/how-to-calibrate-digital-pocket-scale/ — the interactive coin calculator and full accuracy tester.
- How to Calibrate a Food Scale — scalecalibration.net/how-to-calibrate-a-food-scale/ — the same underlying process, adapted for a kitchen scale.
- NIST Handbook 44 Explained — scalecalibration.net/nist-handbook-44-explained/ — the technical standard behind commercial scale accuracy in the US.