By Jayson · Updated July 2026 · 6-minute read
How to calibrate a food scale- Quick answer: Wipe the platform clean, power on and wait 60 seconds, press Tare to zero, then hold MODE or CAL until the display shows your required calibration weight. Place the exact weight in the center of the platform, wait for PASS, re-zero, then verify with a nickel (it should read exactly 5.0g). No calibration weight? Use nickels instead — 20 nickels = 100g.
How to calibrate a food scale properly starts with understanding why it matters: baking is chemistry, and a food scale is the instrument that keeps the chemistry honest. A few grams of extra flour changes hydration just enough to turn a tender dough dense — and that's a scale problem, not a technique problem. Learning how to calibrate a food scale properly takes about five minutes and fixes the kind of error no amount of careful mixing can undo.
Here's how to calibrate a food scale in the real 6-step process professional and home bakers actually use, what to do if you don't own a calibration weight, and a 10-second check worth running before every baking session.
In this guide
- Why food scales lose calibration
- What you need before you start
- How many coins do you need?
- Step-by-step calibration
- Does your food scale even have a calibration mode?
- Accuracy tester
- Troubleshooting
- How often to calibrate
- FAQ
How to Calibrate a Food Scale: Why It Drifts in the First Place
Before getting into how to calibrate a food scale, it helps to know why it needed calibrating at all — kitchen environments are genuinely hard on a load cell. Temperature swings between a cold counter and a warm oven, flour and oil residue building up under the platform, and vibration from a running mixer or extractor fan all nudge a sensor's accuracy over time. Low-cost digital scales in particular can drift from mechanical wear and these environmental factors, which is exactly why NIST's guidance on weighing instruments treats periodic checking against a known weight as standard practice, not an optional extra.
Induction cooktops deserve a specific mention: they generate strong, rapidly changing electromagnetic fields, and a scale with a poorly shielded load cell can show unstable or "jumping" readings when used directly on or very close to an active induction hob. It's not universal across every scale, but if your display jumps around near the stove, moving the scale away is worth trying before you assume it's broken.
The other common mistake is what we'll call the bowl-and-tare habit. Taring removes the bowl's weight from the display — it does not correct a drifted sensor. If your scale reads 2g heavy against a true 100g weight, taring a mixing bowl still leaves that same 2g error in every ingredient added afterward. A 5g error on 300g of flour is about a 1.7% error in flour quantity, which in a typical bread formula shifts hydration by roughly a full percentage point — enough that experienced bakers notice a difference in dough handling, especially in lean breads and delicate enriched doughs like brioche. Tare and calibration solve two different problems; only calibration fixes drift.
How to Calibrate a Food Scale: What You Need First
Gather these before you start learning how to calibrate a food scale, so you're not hunting for something mid-process:
- A stable, firm surface. A solid countertop or table away from running appliances. A wooden table over hollow joists can flex slightly under weight and cause readings to drift.
- Fresh batteries. Replace them every few months with daily use. A low battery causes erratic readings that look like calibration drift but won't be fixed by calibrating.
- The correct calibration weight. Most food scales need 100g, 200g, or 500g — check the manual or the underside of the scale. See our calibration weights guide if you need to buy one; a decent 200g set costs around $8.
- No running appliances nearby. Turn off the mixer, extractor fan, and move away from any induction cooktop before calibrating.
- A clean platform. Flour and oil residue under the platform edge creates a consistent false reading — wipe it before starting.
How to Calibrate a Food Scale Without Weights: How Many Coins?
Part of learning how to calibrate a food scale without buying anything extra is knowing this trick: no calibration weight on hand? US nickels weigh exactly 5.000g each, per US Mint specification, making them the most practical coin for calibrating a food scale — most models need 100g or 200g, which is 20 or 40 clean nickels. See how much does a nickel weigh for more on using coins as a genuine calibration reference.
Coin calibration weight calculator
Enter your scale's required calibration weight. Most food scales need 100g, 200g, or 500g.
40 US nickels
Quick check: a single nickel placed on a calibrated food scale should read exactly 5.0g. If it reads 4.8g or 5.2g, your scale needs calibration. This 10-second test before every baking session catches drift before it ruins a recipe.
Nickels work well for general cooking. For precision baking — macarons, croissants, sourdough — a real certified calibration weight is worth the $8: worn coins can deviate by a tenth of a gram each, and across 20 nickels for a 100g calibration that's a potential 2g error stacked into the one check meant to catch drift in the first place.
How to Calibrate a Food Scale, Step by Step
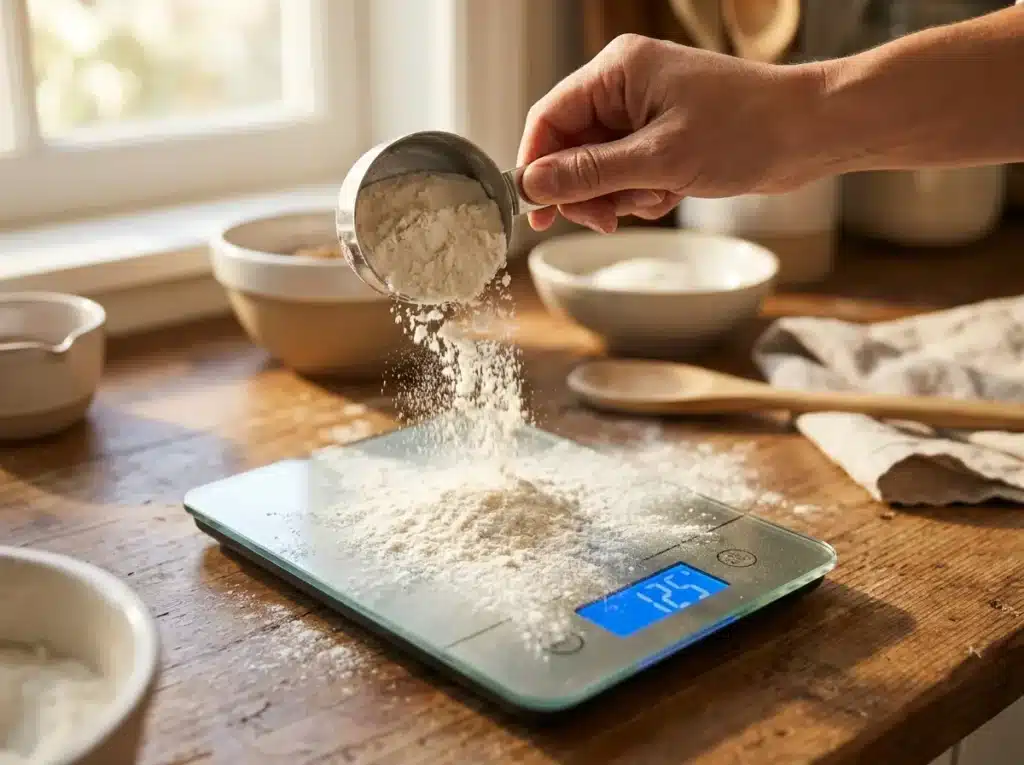
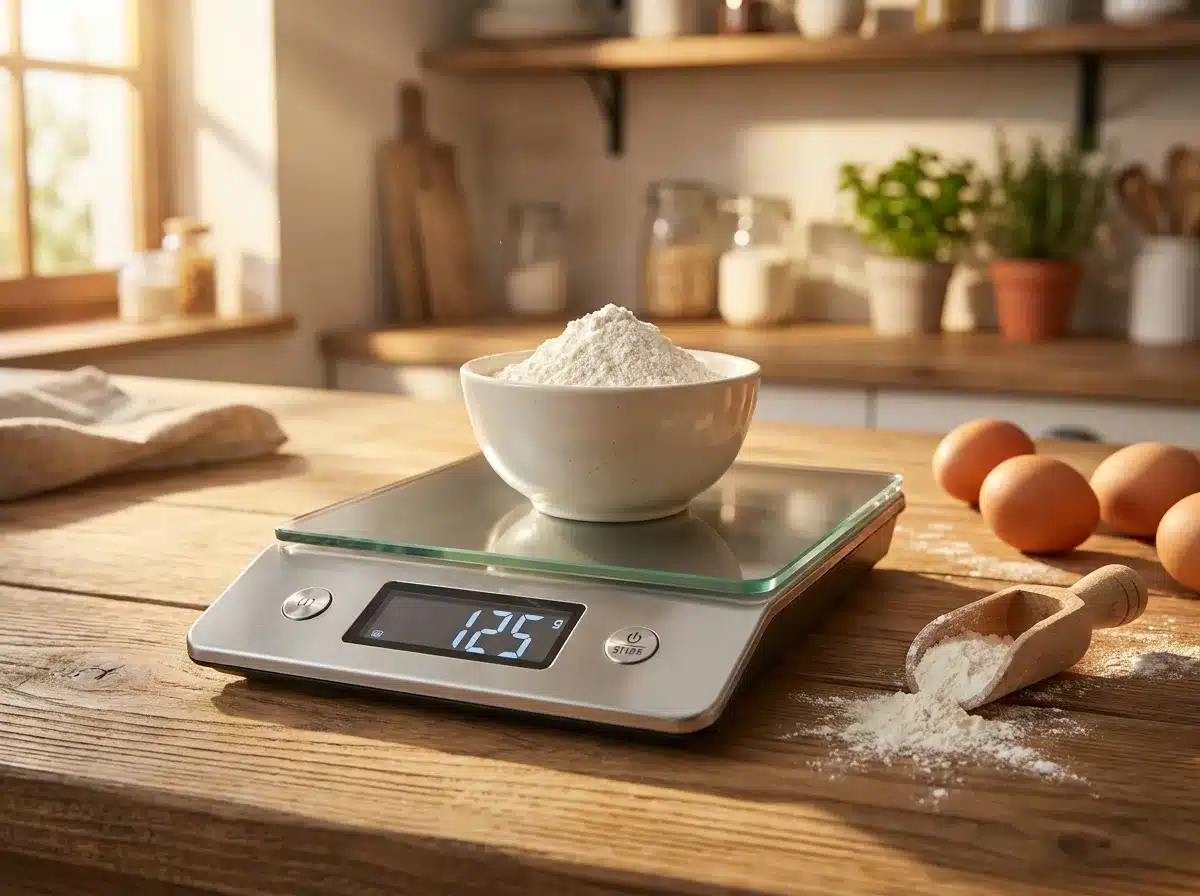 A properly calibrated food scale is what keeps a measured cup of flour honest.
This is exactly how to calibrate a food scale in practice — the general process most food scales that support calibration follow — the exact button names vary by model, so check your manual if a step below doesn't match your display.
- Clean the platform thoroughly. Wipe the platform and the area underneath its edge with a dry cloth. Residue there is invisible but creates a consistent false reading — if you can see any on the underside, the scale has likely been reading heavy for a while.
- Position the scale and power on. Place it on a firm, flat surface, away from running appliances, and power on. Wait 60 seconds before doing anything else.
- Zero the scale. With nothing on the platform, press Tare or Zero and wait for a fully stable 0.0g reading. If it won't settle, check for a nearby running appliance or induction cooktop.
- Enter calibration mode. Hold CAL or MODE (check your model) for a few seconds until the display shows CAL or starts flashing the weight it wants.
- Place the calibration weight. Set the requested weight gently in the center of the platform with one finger — placing it and pressing a button at the same time can shift the scale on the counter. Wait for the reading to fully settle.
- Confirm and verify. Wait for PASS or an automatic return to weighing mode. Remove the weight, re-zero, then verify with a single US nickel — it should read exactly 5.0g. If it doesn't, repeat from step 2.
The pre-bake check: before any important baking session, place a single nickel on your zeroed scale. It should read 5.0g. It takes 10 seconds and catches drift before it ruins a recipe — keeping a spare nickel taped inside the scale's storage box makes this an easy habit.
How to Calibrate a Food Scale That Has No CAL Button
Here's something worth knowing before you go hunting for how to calibrate a food scale that doesn't cooperate: a lot of consumer food scales don't have one. Many budget and mid-range kitchen scales are factory-calibrated at the manufacturer and only expose zero/tare to the user — there's no button sequence to enter a real calibration mode, no matter what you hold or how long you hold it.
There's no reliable universal rule for which brands do and don't support it — it varies by model, not just by brand, and manufacturers change internals between revisions of the "same" scale without changing the model name. The only trustworthy way to know is to check your specific scale's manual, or look for a printed "CAL" marking near the display or on the base.
If your scale genuinely has no calibration mode: - Run the nickel check above anyway — it tells you whether the scale is accurate, even if you can't fix it yourself. - A small, consistent offset (always reading exactly 1-2g heavy) can sometimes be worked around by mentally subtracting it, though this is a workaround, not a fix. - If the scale is meaningfully inaccurate and can't be calibrated, replacement is usually more practical than trying to force a fix — factory-sealed consumer food scales are inexpensive enough that this isn't a big loss.
If it does have a calibration mode, it will need a specific known weight (check the manual or the base of the unit for the exact value), and the general 6-step sequence above will get you there.
Accuracy tester
Place a nickel (5.000g) or another known-weight object on the zeroed scale, then enter the values below for an instant result.
Scale accuracy test
Best reference: a US nickel (5.000g), or a sealed 100g packet with the net weight printed on the wrapper.
That's the whole test behind how to calibrate a food scale correctly — known weight in, reading out. For a full pass/fail breakdown by use case, see the full accuracy tester on our digital pocket scale guide.
Troubleshooting How to Calibrate a Food Scale
| Symptom | Most likely cause | Fix |
|---|---|---|
| Recipes consistently off despite careful measuring | Sensor drift — the scale reads consistently high or low | Calibrate. Run the nickel check first to confirm the scale is the actual issue. |
| Reading jumps near the induction hob | Electromagnetic interference from the induction cooktop | Move the scale at least a meter from the hob, or use a different cooking zone while weighing. |
| Reading drifts upward while an ingredient sits on the platform | A draft from an extractor fan or open window | Turn off the extractor, close windows, move the scale away from air movement. |
| Reads 2-3g higher after taring a bowl | Taring near max capacity can reduce accuracy on some scales | Weigh the bowl, note the weight, and subtract manually, or use a lighter bowl. |
| Different reading each time the same ingredient is placed on | Platform not clean, or off-center placement | Clean the platform; always center ingredients; use a consistent technique. |
| Shows "Lo" or a battery icon | Low battery | Replace the batteries — the single most common cause of food scale drift complaints. |
| Calibration completes but the scale still reads wrong | Calibration weight itself is inaccurate (worn coins), or the surface is uneven | Repeat on a firm, level surface with a verified weight or fresh, clean coins. |
How to Calibrate a Food Scale: How Often
Knowing how to calibrate a food scale is only half the job — knowing how often matters just as much. For daily cooking, calibrate monthly and run a quick nickel check before any baking session. For occasional home use, every three months is enough. For anyone tracking food weight for dietary reasons, monthly calibration matters since consistent accuracy affects the numbers you're logging.
Always recalibrate after: - Moving the scale to a new location - Replacing the batteries - A drop or knock - Recipes coming out consistently wrong despite careful measuring - The scale sitting unused for more than two months
Frequently asked questions
How do I calibrate a food scale without calibration weights? Use US nickels — each weighs exactly 5.000 grams. For a 100g calibration target, use 20 nickels; for 200g, use 40. A quick way to check accuracy afterward: a single nickel on a zeroed scale should read exactly 5.0g. This is the single most useful trick in learning how to calibrate a food scale on a budget.
Why doesn't taring the bowl fix my food scale's readings? Taring only removes the bowl's weight from the display — it does not correct a drifted sensor. If the scale reads 2g heavy on a true weight, that same 2g error is added to every ingredient you weigh afterward, tare or no tare. Only calibration fixes drift.
How accurate should a food scale be? For general cooking, plus or minus 1 gram is fine. For baking, especially with leavening agents like yeast or baking powder, plus or minus 0.5 gram matters more. If a scale reads more than 2-3 grams off on a known 100g reference, it needs calibrating.
How often should I calibrate a food scale? Monthly with regular use, and always after moving the scale, replacing the battery, or a drop. A 10-second nickel check before any important baking session catches drift immediately without a full recalibration.
My food scale has no CAL button — can I still calibrate it? This is the most common snag people hit trying to learn how to calibrate a food scale: many consumer food scales are factory-calibrated with no user-accessible calibration mode at all — they only support zero and tare. Check the manual or try holding MODE, CAL, or TARE+ON together. If there's genuinely no calibration mode and the scale reads wrong, replacement is usually more practical than trying to force a fix.
More Related Guides
Now that you know how to calibrate a food scale, here are related guides worth bookmarking:
- Calibration Weights: Which Class & Size — scalecalibration.net/calibration-weights/ — which weight to buy for kitchen and food scales, without overpaying.
- How to Calibrate a Digital Pocket Scale — scalecalibration.net/how-to-calibrate-digital-pocket-scale/ — the interactive coin calculator and full accuracy tester.
- How to Calibrate a Digital Scale — scalecalibration.net/how-to-calibrate-a-digital-scale/ — the general method behind every digital scale calibration.
- How Much Does a Nickel Weigh — scalecalibration.net/how-much-does-a-nickel-weigh/ — the exact 5.000g coin reference used throughout this guide.